8 Easy Halloween Crafts for Kids
by Teresa Borg

Are your kids getting excited for Halloween? Are you aspiring to transform your home into a scary lair full of spiders, bats, ghosts and any other monstrous creatures from your imagination? Why not get your kids involved? Halloween is a time which can ignite their creative spark and let their fantasies roam boundlessly, while you'll also benefit from some fun family quality time.
Although local stationers, costume shops and party stores are brimming with scary Halloween decorations, costumes and accessories, you're just in time to try your hand at some DIY Halloween crafts. Whether you're hosting a Halloween party, or participating in a trick or treat event, you'll be one step closer to being the creepiest house of the neighbourhood with these 8 easy to do Halloween ideas:
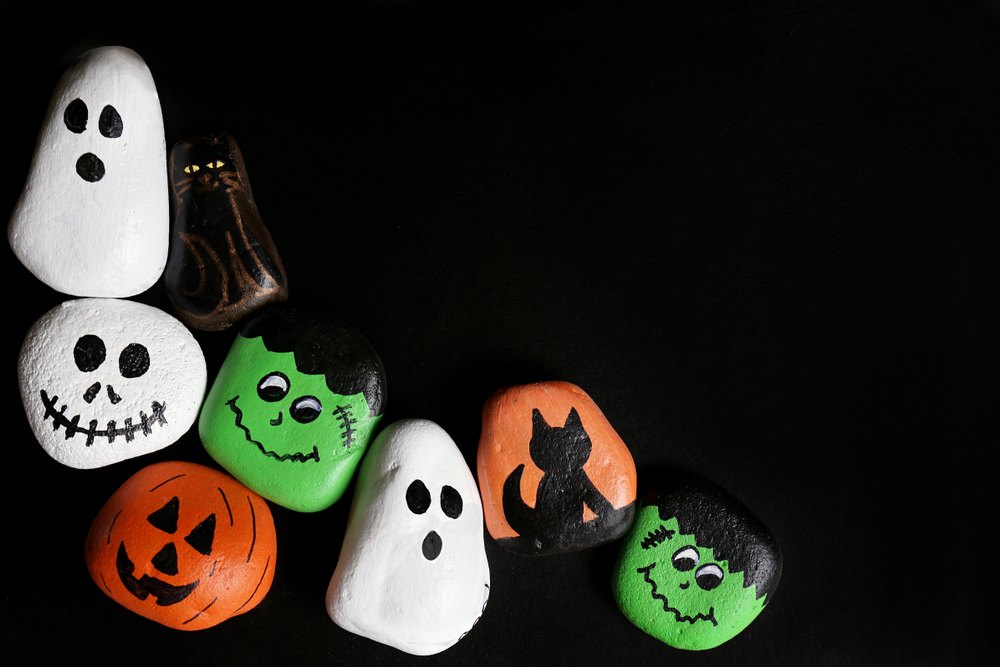
1. Skull Stones
Supplies you need:
- Different-sized smooth stones (Make sure they're not too heavy for your kids)
- White craft paint
- Paint marker
- Paintbrush
- Acrylic spray sealer
Instructions:
- Go pick up smooth stones from rocky beaches with your kids
- Wash the stones
- Let them dry completely
- Use a paintbrush to paint the stones white and let dry
- Draw a skull face using the black paint marker
- Finish off with a spray sealer for a protective coating
Alternatives:
Buy different-coloured craft paint to draw other Halloween figures to your liking. A green Frankenstein or a stone with a bloody hand will make your stone collection a lot scarier.
2. Spooky Glass Lanterns

Supplies you need:
- Mason jars of different sizes (the bigger they are, the spookier they will be)
- Craft paint
- Paintbrush
- Rubbing alcohol
- Black paint marker
- Spray sealer
- Tea lights
- Long-handled lighter
Instructions:
- Wash the mason jars properly
- Rinse with rubbing alcohol and let dry
- Put one layer of craft paint on the outside of the jar, lid and all. Don't worry if the paint doesn't seal, because you need the light to shine through the glass.
- Use the black paint marker to draw scary faces and let dry
- Apply the sealing spray and let the jars dry for a couple of hours
- Put the tea lights inside
- Place these eerie lanterns on your window sills or in your front garden and light them up with the long-handled lighter as soon as it starts getting dark. Passers-by will surely get a scare when they lay their eyes on their piercing expressions.
Alternative:
As an alternative to painting the jars, you may decide to use paper and crayons instead, especially if your kids get super messy when using paint. Draw or trace any scary design on a white sheet of paper with black paint marker and colour it with crayons. Make sure the design is in the centre since the paper will be rolled around the jar. Use tape to stick it to your mason jar. These paper monsters would be fun during the day, but scary when the shadows of the night start infiltrating your house.
3. Wooly Pumpkins

Supplies you need:
- Any material you can roll into a ball, e.g. used paper or plastic bags
- Masking tape
- Orange yarn
- Utility knife
- Scissors
- Firm wooden sticks of different sizes
- Wire cutter
- Black card stock
- Fabric glue
Instructions:
- Go hunting for sturdy wooden sticks -these will later be used for the stems of the pumpkins
- Roll used paper or plastic bags into balls of different sizes to create a range of different-sized pumpkins
- Use masking tape to stick them firmly together
- Make a slit at the top using the utility knife
- Using a wire cutter, cut the wooden sticks into different heights and insert them into the slit of the respective pumpkins
- Wrap the orange yarn around the ball in each and every direction until every inch is covered completely. Tuck the end of the yarn into the ball once done.
- Cut out a pair of eyes and mouth from a black card stock sheet
- Use fabric glue to attach them to the pumpkin
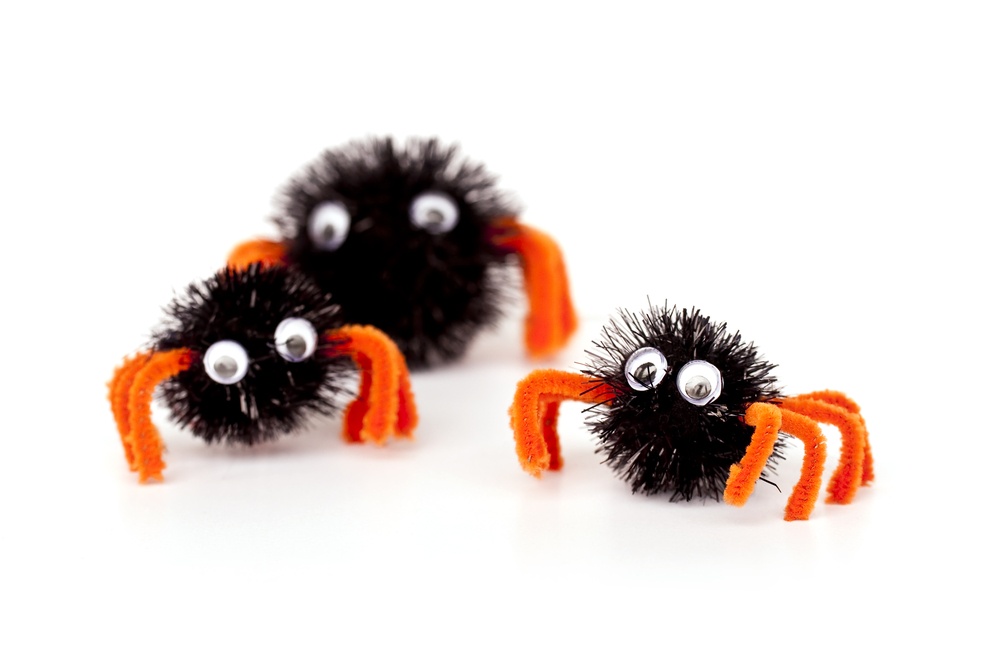
4. Pom Pom Spiders
Supplies you need:
- Craft beads
- Different-sized black pom poms to be able to create a family of spiders
- Googly eyes
- Pipe cleaners
- Hot glue gun
- Craft glue
Instructions:
- Cut the pipe cleaners into 8 equal pieces to create the spider legs
- Insert the craft beads into the pipe cleaners and fold the end slightly to keep the beads intact
- Use a hot glue gun to attach the pipe cleaners to the pom pom and let dry. It's crucial that the glue gun is handled by adults only.
- Stick the googly eyes on the pom pom using craft glue
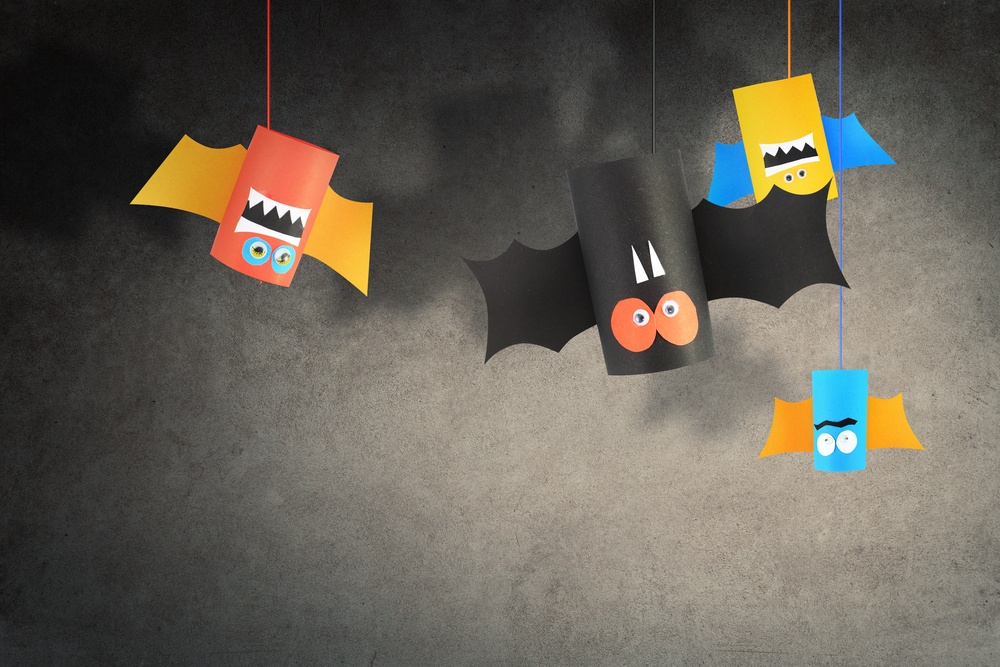
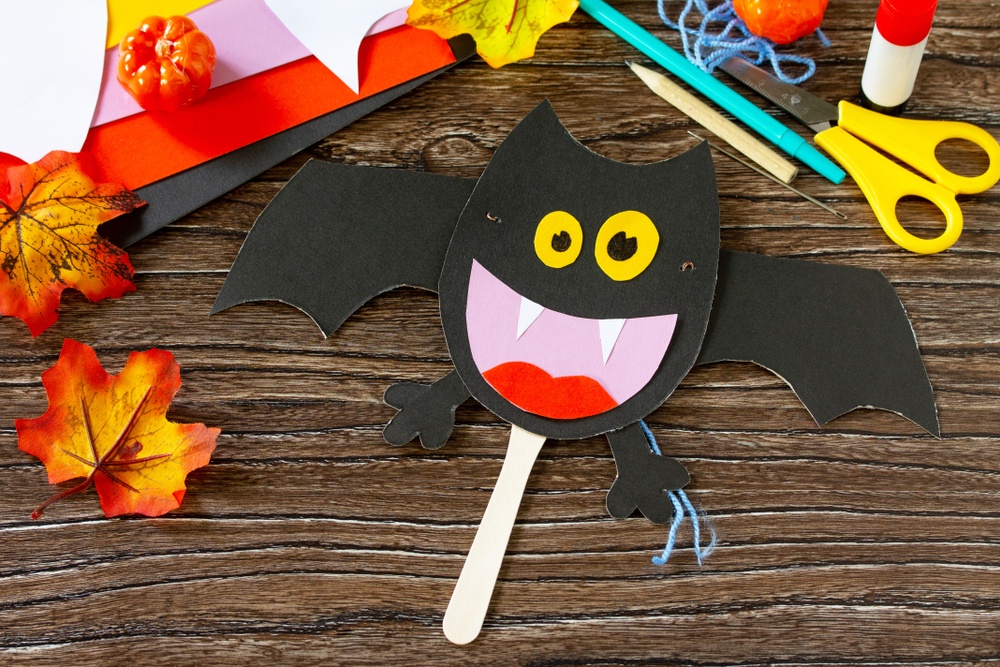
5. Paper tube bats
Supplies you need:
- Black card stock + other optional colours
- Empty toilet paper rolls
- Scissors
- Googly eyes
- Craft glue
- Twine
Instructions:
- Cut a strip of black card stock big enough to cover the whole paper tube
- Draw or trace bat wings on another piece of card stock (can be a different colour) and use it to cut more wings
- Glue the strip around the paper tube, followed by the wings
- Cut other features such as fangs and eyes from the card stock, and attach them to the paper tube using craft glue. Googly eyes will also work.
- Hang your family of bats from ceilings and windows using twine
Alternative:
Keen on creating some intimidating mummies as well? Instead of card stock you may wrap toilet paper or gauze around the toilet paper rolls.
6. Balloon Ghosts

Supplies you need:
- White balloons
- Streamers/ ribbons
- Black paint marker
- Scissors
- Twine
- Balloon air pump
- Craft glue
Instructions:
- Inflate the balloons (a balloon pump may be useful)
- Draw scary ghost faces using the black paint marker
- Cut the streamers or ribbons in different sizes
- Attach them on the bottom part of the balloons using craft glue
- Connect a piece of twine from each balloon and hang them around your house
Alternative:
Experiment with other balloon colours to create any horrifying creature which your child comes up with. As an alternative to balloons, you may also decide to create tin can ghosts. In this case, you would need black and white craft paint and used tin cans. Make sure you remove the labels and clean the cans thoroughly before you start painting, and cut a hole at the top to allow the twine to pass through. The ribbons can in turn be glued around the inside of the cans.
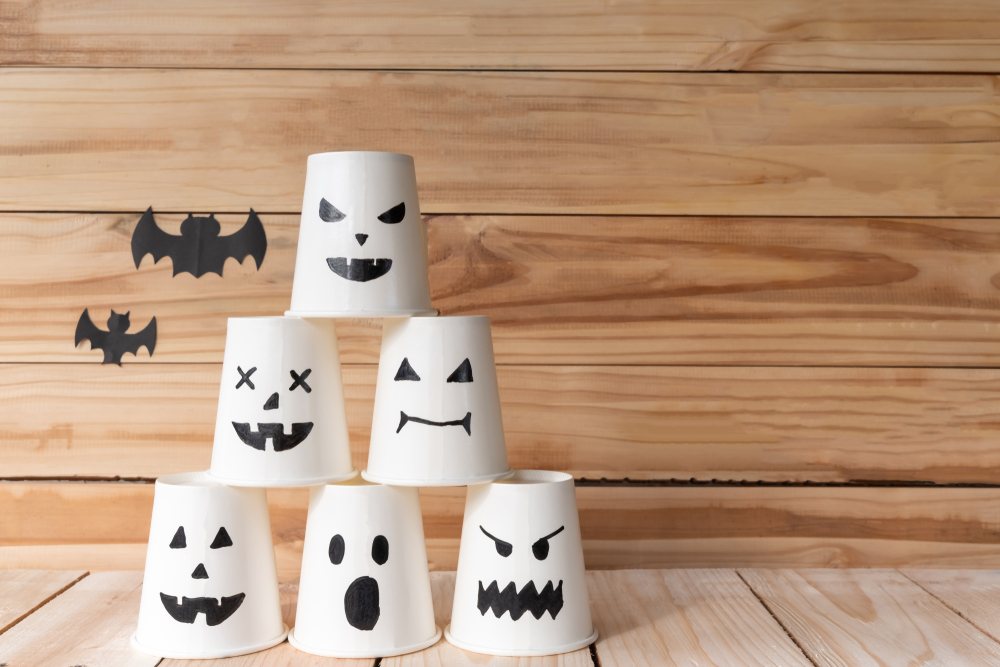
7. Monster Cups
Supplies you need:
- Plastic cups
- Range of craft paint colours
- Paint brush
- Googly eyes
- Craft glue
- Black paint marker
Instructions:
- Paint the plastic cups using craft paint
- Once dry, use the black paint marker to draw creepy faces on each cup.
- You may also decide to add embellishments such as googly eyes, beads and glitter on the cups using craft glue.
8. Ogres in a Pot
Supplies you need:
- Wooden popsicle sticks
- Coloured card stock
- Paper plates
- Googly eyes
- Craft glue
- Craft paint
- Paintbrush
- Scissors
- Small pots
- Soil
Instructions:
- Paint the paper plates and allow time to dry
- Cut features such as hands, fangs, or wings (depending on the creature you're creating) from the card stock
- Glue the drawn features on the paper plates, together with googly eyes
- Once done, use craft glue to stick the monster you created to the popsicle stick
- Fill the pots with soil
- Insert the monster on a stick into the soil
Easy enough to try out with your kids, right? Head down to one of the craft shops around Malta and Gozo and start working on your Halloween decor now! We can't guarantee your kids won't get messy, so make sure their art smock is handy while they're trying their hand at these crafts.
Also check out these Halloween costume ideas you can try during this year's celebrations.
Keep on discovering local with Yellow.