10 Steps to Dyeing your Hair at Home (the right way)
by Stella Cini
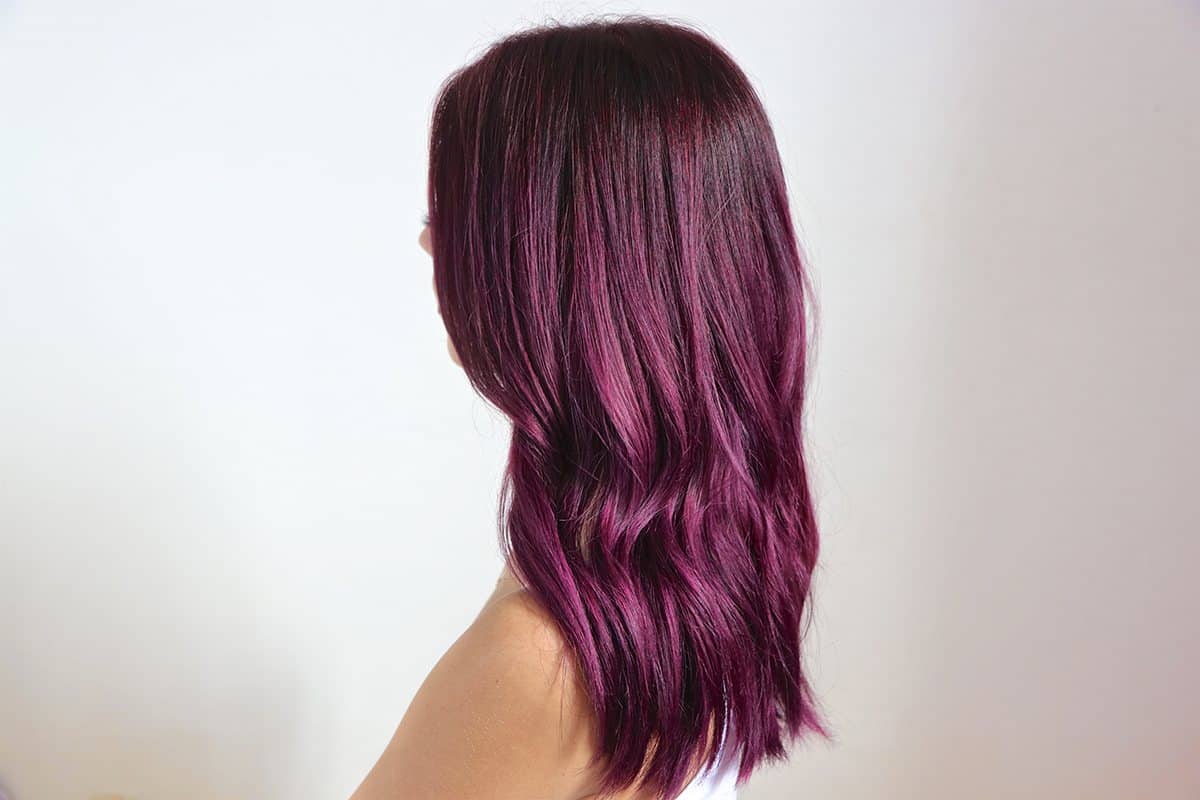
Dyeing your hair at home has become a huge phenomenon these past few years as seen by many Youtubers and Instagrammers whose tutorials range from simply getting their roots done in natural browns and blondes to bright colour ombres and unusual colour combos. DIY hair colouring is one of those things that you’ll either live for or learn from, so here’s how to dye your hair at home the right way.
STEP 1: Planning
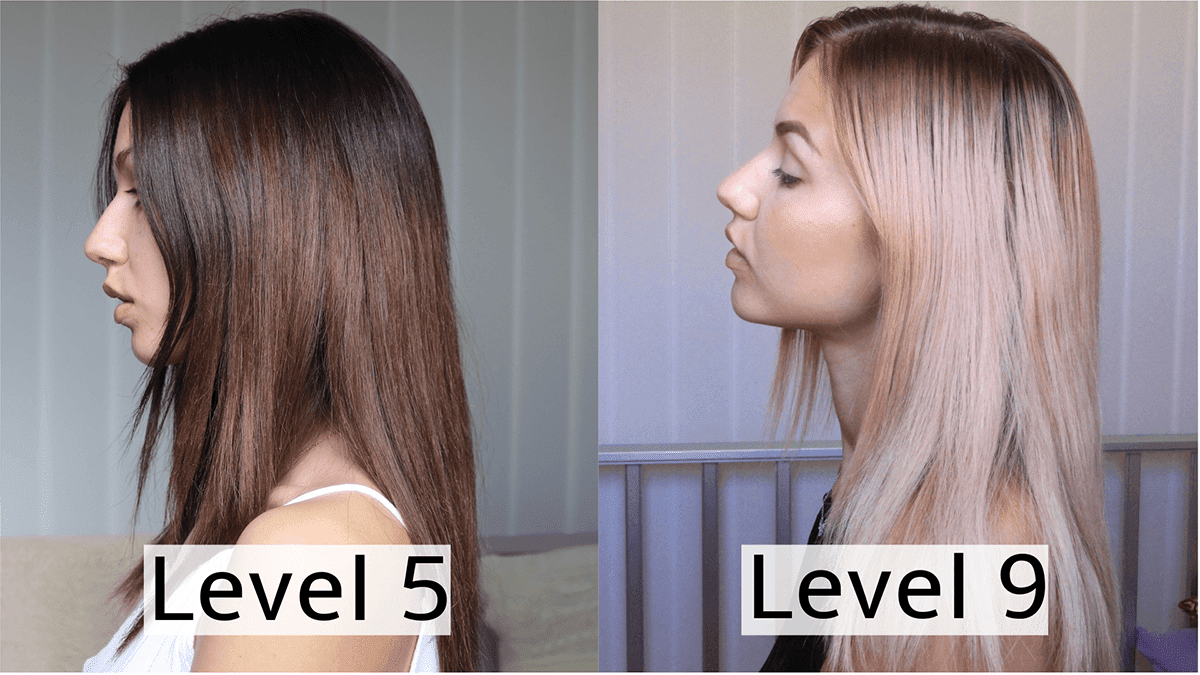
Plan out your colour change. Many people fail at dyeing their hair at home because they just hope for the best and don’t realise that bleaching black hair to platinum in one sitting is almost impossible or in most cases, highly damaging. Assess your current hair condition - if your hair is at a level 1 - 4 (meaning black to medium brown), you’re not going to get much of a colour change without bleaching it. Also, consider what your hair texture is like and what your history with hair colouring is. For example, if your hair breaks off simply by brushing or combing it, stay away from bleach and opt instead for a darker, lower maintenance colour.
STEP 2: Products
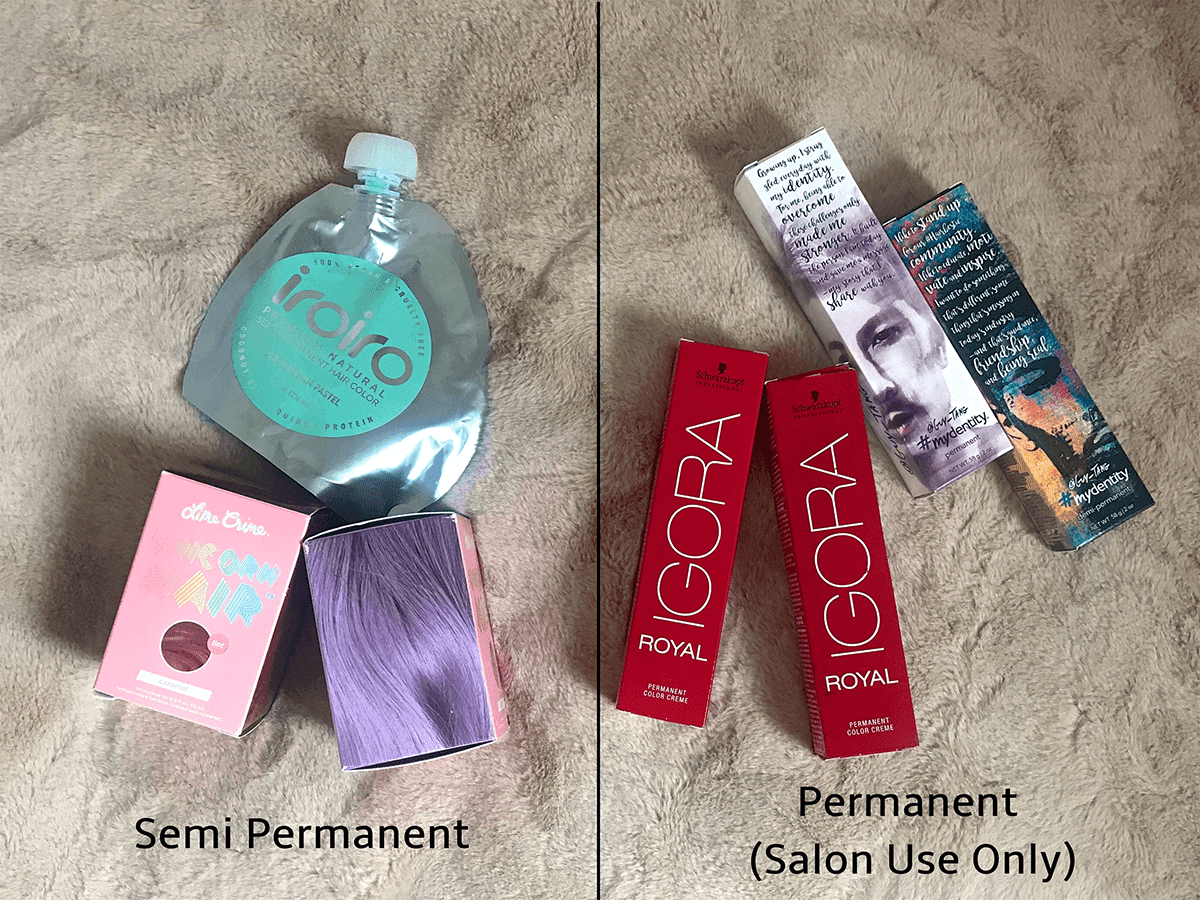
Once you’ve decided roughly what colour you’d like to go for, it’s time to get your products. Usually, people tend to go for what’s easiest to find, such as store-bought dyes and bleaches, however, what they don’t realise is that these products are a lot more damaging to the hair and harder to remove once they decide it’s time for another change. So research the different products out there, see what other stylists and hairdressers recommend and check what’s available. Very often, dyes are salon use only and aren’t available to the general public, so it’s good to see what’s available online or at a local beauty supply store. Good quality, semi-permanent dyes are available both locally and online, so if you’re unsure of what might be best for you, try those, however, bear in mind that your hair has to be bleached to at least a level 8 (blonde) beforehand.
STEP 3: Preparation
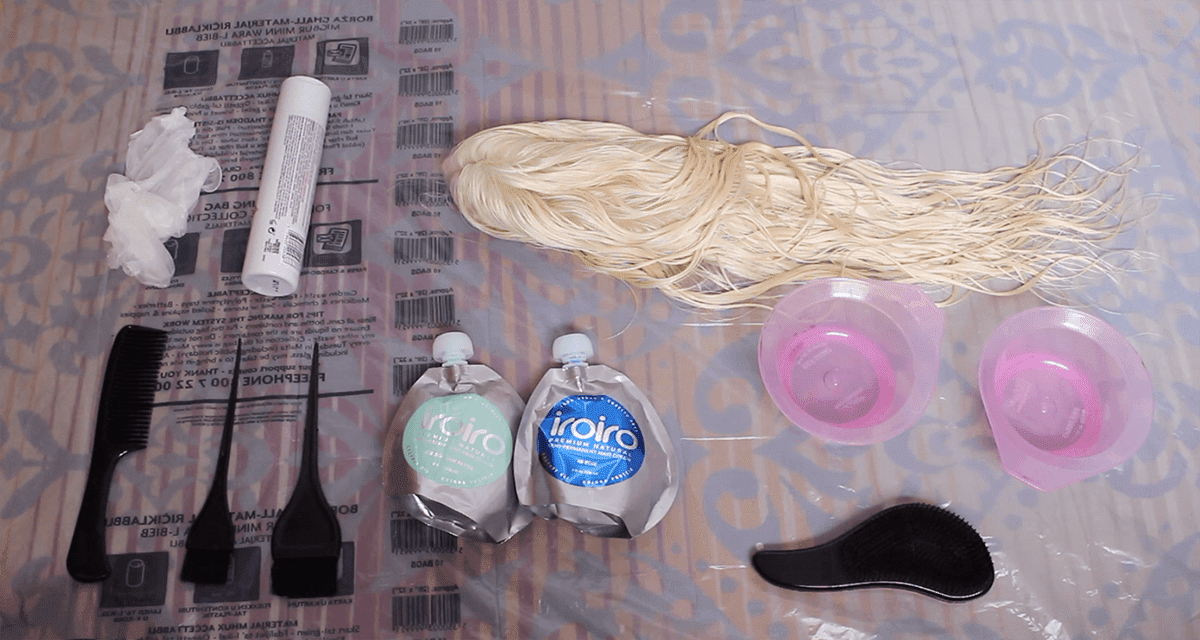
Prepare your workstation. Whether you’re doing this in your bathroom, bedroom or kitchen, it’s always better to prepare for the worst and have everything nearby to avoid any mishaps. It’s very inconvenient to stop the dyeing process, remove your gloves and try to avoid staining anything simply because you need to reach for the wipes in another room. Check that you have everything before you start dyeing your hair.
Some tips to remember:
- Cover any surfaces with plastic to avoid staining it if any dye or bleach falls on it
- Have wipes and a kitchen roll handy in case you need to wipe up anything
- ALWAYS WEAR GLOVES. The chemicals in the dyes, bleaches and peroxides aren’t skin friendly so any exposure can cause irritation, itchiness or swelling. Ideally, it’s a good idea to do a skin sensitivity test with the dye you’re using to make sure you’re not allergic to it
- Wear an old t-shirt that you don’t mind staining
- Lay out your dyes neatly and close by - a good rule of thumb is to always get more dye than you think you need because if you miscalculate and run out, it’s hard to get more in short notice and you may end up botching the whole process
STEP 4: Measuring and mixing
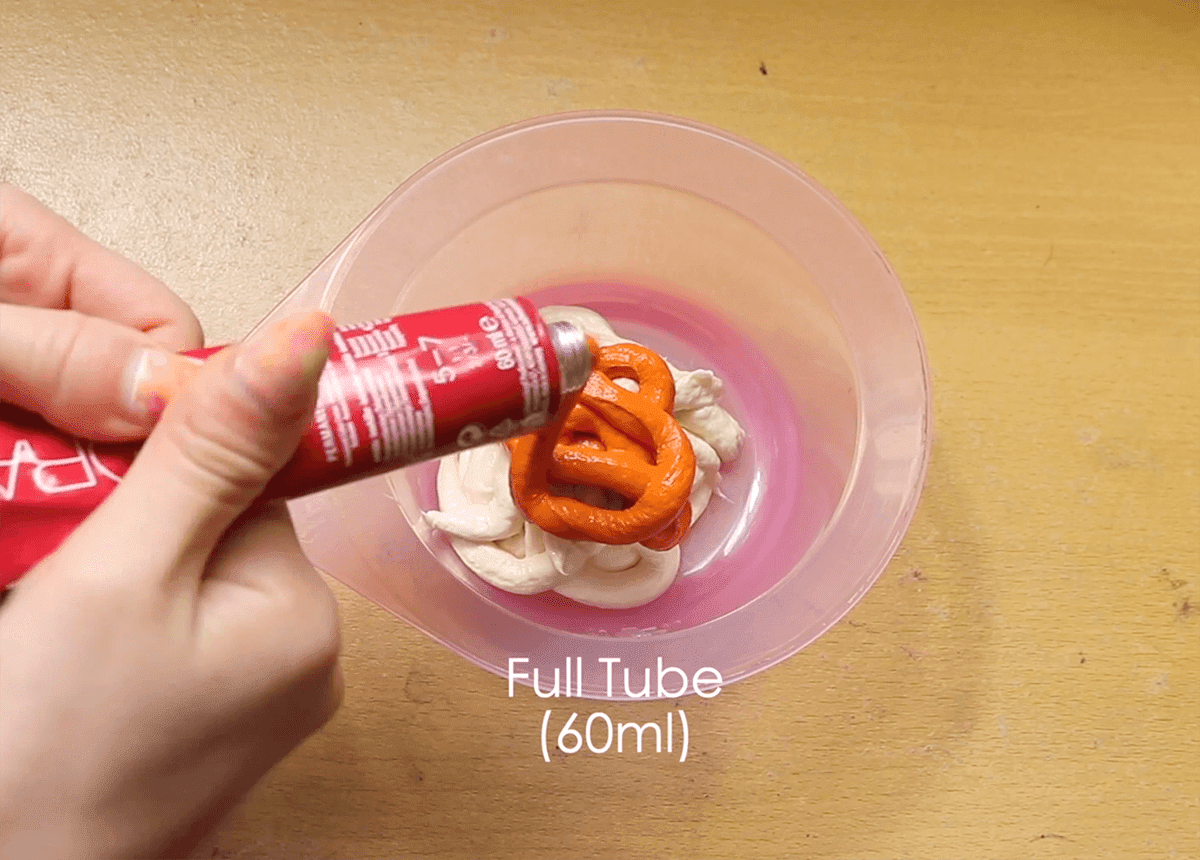
Measure your dyes accurately. When it comes to these chemicals, adding too much of one thing and too little of another will probably result in an uneven result, or worse, you may end up damaging your hair. A dye mix is like a recipe - if you don’t follow it accurately, you won’t end up with what you’re hoping for.
So if the box says mix 1:1 with the developer (in other words peroxide), then use equal amounts of dye and developer. Always use a weighing scale to measure the amount accurately. On the other hand, if you’re adding more than 1 colour into your mixture, it’s best to prepare some extra dye because if you need to mix more at a later stage, it might be harder to get the same colour the second time around.
STEP 5: Application
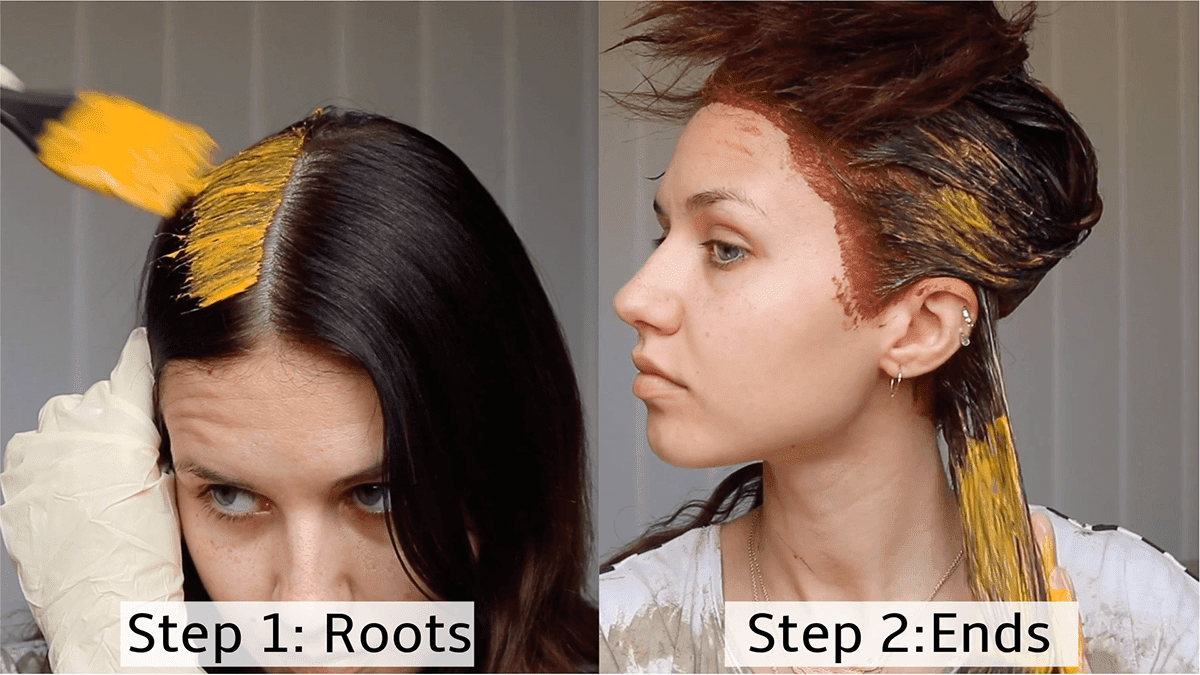
If you’re new to dyeing your own hair or have no experience with dyeing techniques, it’s a good idea to follow a detailed video to make things easier and to ensure you’re doing it in the right way. Very often, DIY hair colours come out splotchy and uneven because the dye was applied unevenly and the hair was undersaturated, which means that not enough product was put on it. Always move in small sections and make sure to cover all surfaces. For example, if you’re dyeing your full head, always start from the roots and then work your way towards the ends. Once you get the hang of dyeing your full head, you may then start playing around by adding multiple mixtures into your hair for an ombre/balayage/dip dye look.
STEP 6: Keeping Clean
Keep everything neat and tidy and clean up immediately once you’re done. Remember that dye stains most surfaces and does so very quickly. If there’s dye on your skin/hairline, clean up as soon as possible to avoid serious staining. Do the same when it comes to stains on furniture and other surfaces.
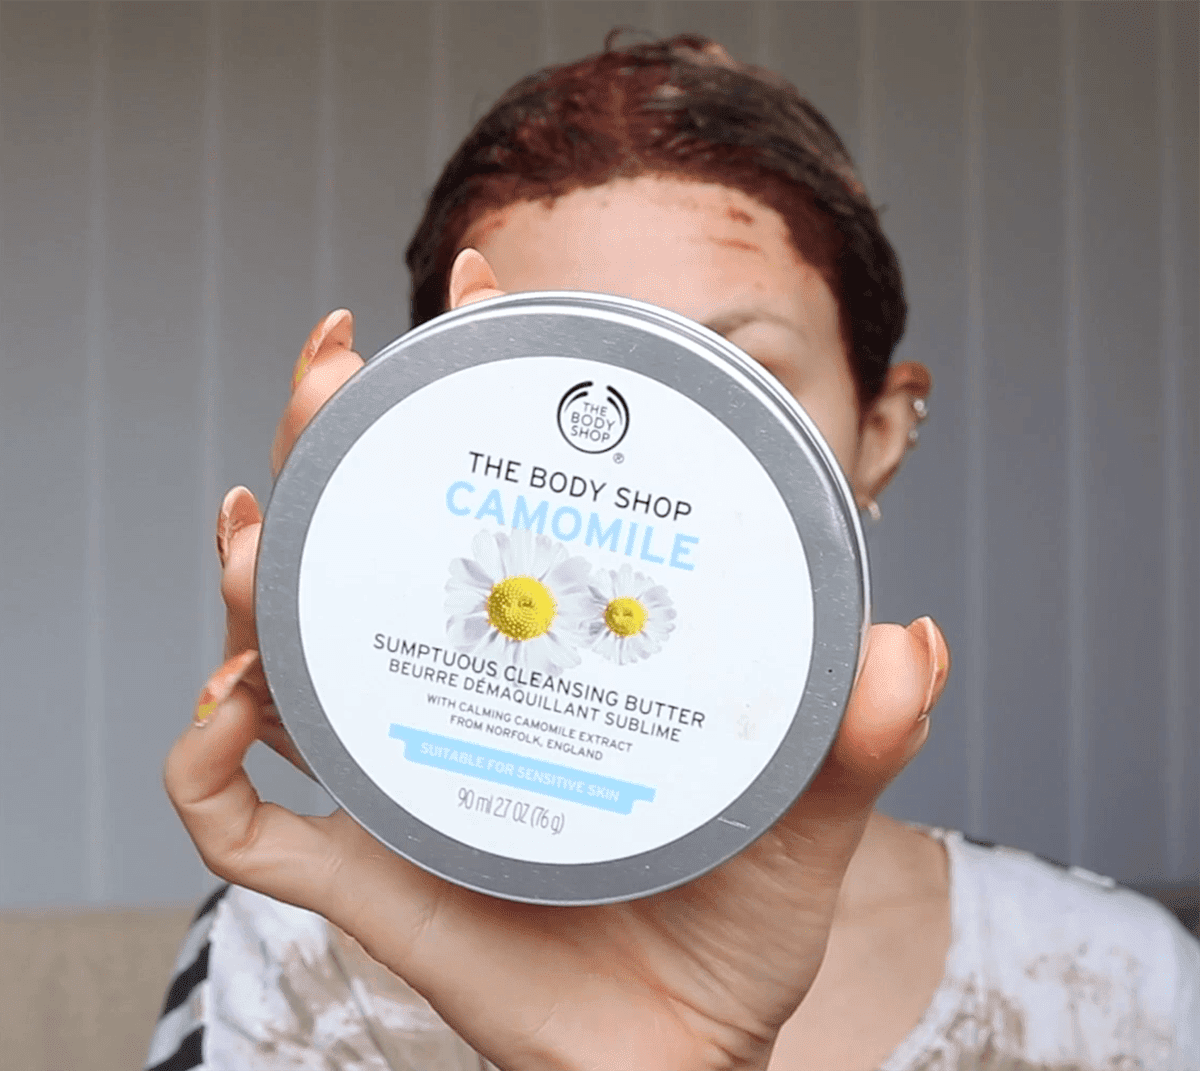
Tip: Use make-up remover to remove dye stains from your skin
STEP 7: Timing
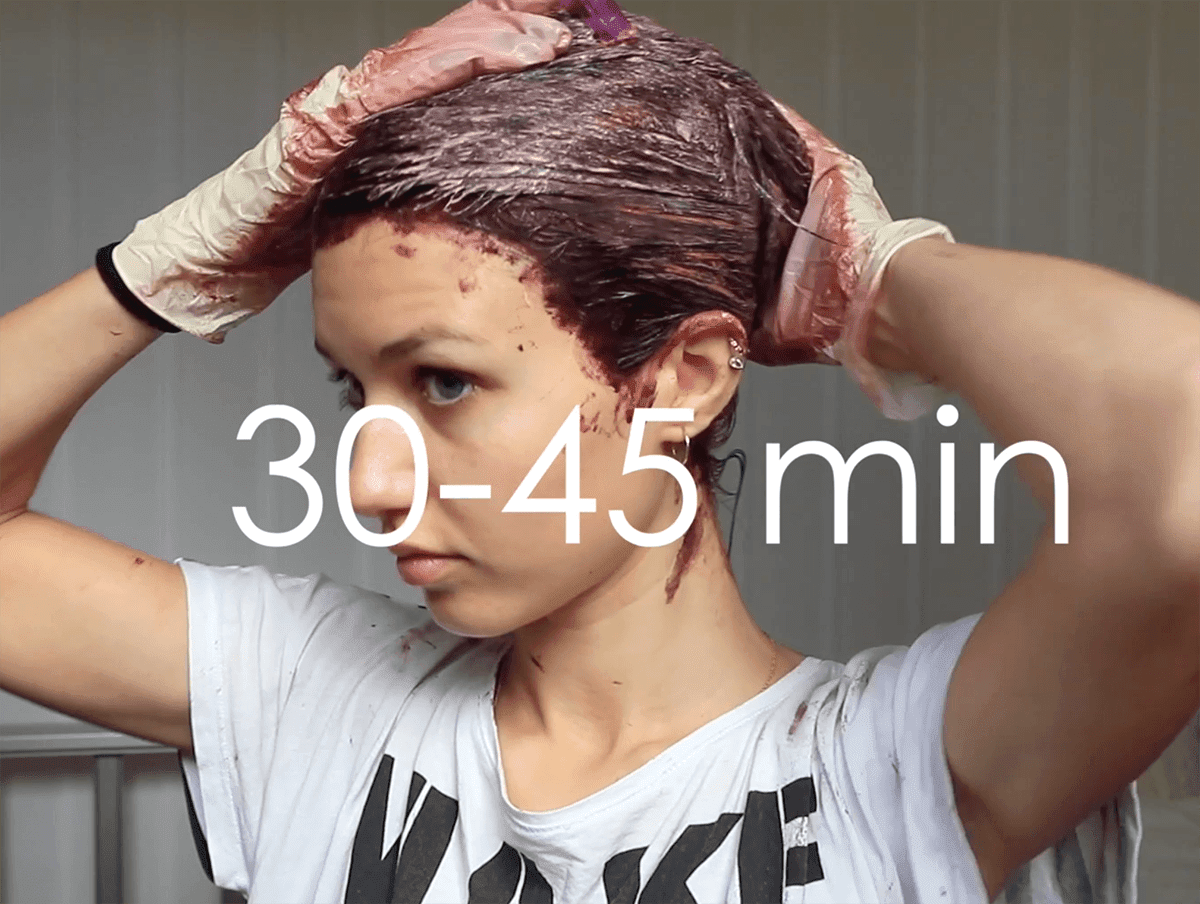
Leave the dye/bleach on for the correct amount of time. If you under-process your hair you may end up with a patchy and uneven result, whereas if you over-process it, you will end up drying out your hair or cause severe breakage. Always check the instructions and don’t just guess how long you should leave the dye on for. When it comes to bleach, keep on checking the progress constantly to see when it’s time to rinse it off since bleach doesn’t stop processing the hair. Leaving it on for too long can give your hair a ‘noodle-like’ texture.
STEP 8: Washing and Conditioning
Since you’ve just taken your hair on a chemically altering journey, it’s time to show it some love. So make sure you deep condition it to reduce any dryness or damage caused by the dyeing process. Use colour maintaining shampoos to prolong the colour and finish off the wash with a quick 10-second rinse with cold water. Doing so will help close up the hair cuticle, sealing in the colour and adding a nice shine to it.
STEP 9: Styling
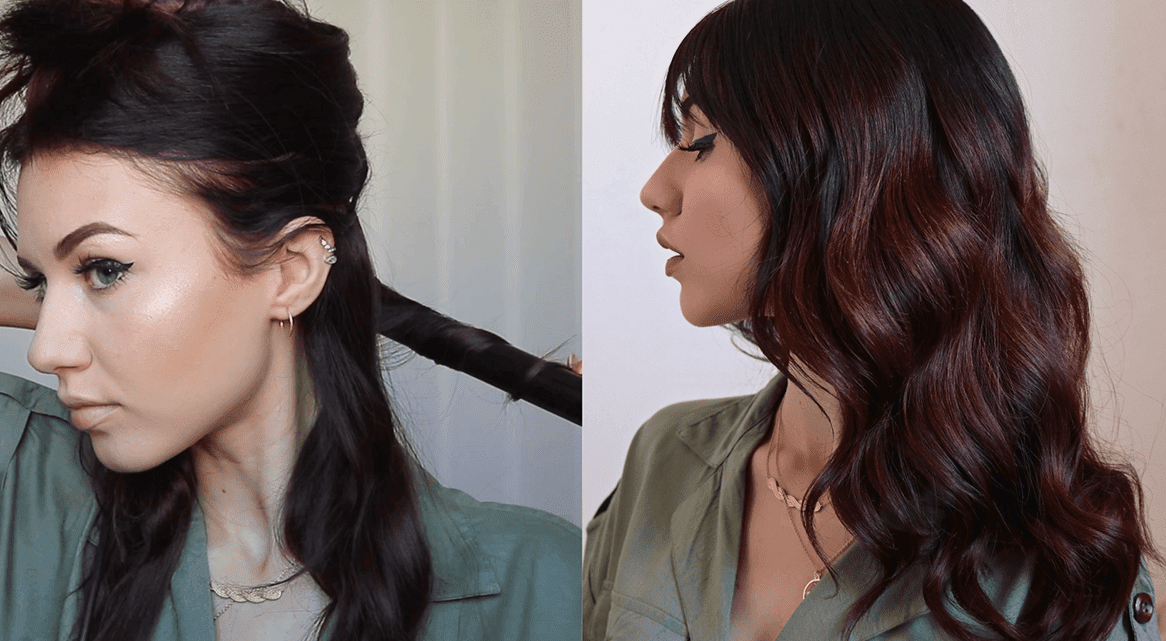
It’s time to finish off your look. The final style of your hair can make or break the end result so take care to perfect it. Add hair oils to the ends to nourish them and thermal protectant if you’re going to use heat to style your hair. On the other hand, for freshly bleached hair, keep your straightener/curler at 180 degrees Celsius to avoid any further damage. A good thing to remember is that styling with heat may alter your hair colour so be gentle. In addition, avoid tight curls most especially if you’ve dyed your hair multiple colours since it may distort the colours and opt instead for looser waves to blend it all together and to achieve an effortless yet cool look.
STEP 10: Show it off

You’re done! It’s time to go out and enjoy your fresh, bold, new DIY hair. Show it off all over social media - #hairgoals #diyhair #newlooknewme. Have fun creating bold, new looks to try out with your hair and mix and match your clothing though take care they don’t clash. Maybe upload your dyeing process to Youtube and see what people say about your hair dyeing skills - it’ll prepare you for your next DIY session.
Have a look at these suppliers of hair care products to equip yourself with everything you need before your dyeing session.
Keep on discovering local with Yellow!
About Stella Cini
Insanely hair and wig obsessed, Stella Cini is a Beauty Influencer/Youtuber intent on sharing everything and anything worth knowing about hair, make up and all the in between.